POSITIONIDLE
—°PRODUCTION / BOARD COMMISSIONING
CANStepper Test Station
i
Test station ready
0/5 stagesConnect a board to begin commissioning.
HARDWARE LINK
WAITINGConnect the board
BrowserUse Chrome or Edge on a computer
LinkESP32-C3 · USB CDC · 115200
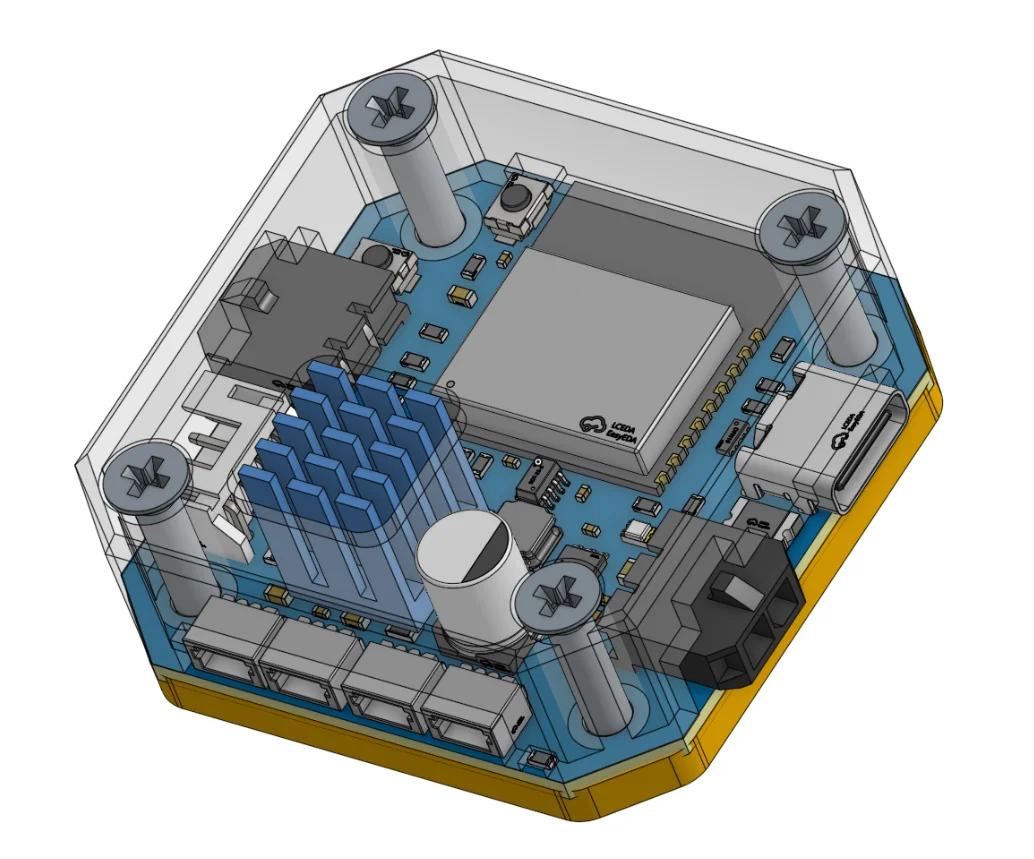
DEVICE UNDER TEST
No board selected
ESP32-C3 TMC2209 MT6701
FIRMWARE—
PROTOCOL—
STATEoffline
VELOCITYNOMINAL
—°/sPOSITION ERRORIN TOLERANCE
—°−0.5°+0.5°
MCU TEMPERATUREHEALTHY
—°CFIRMWARE
LOCAL FILE NEEDEDCompile and flash
Compile, the board test, and PID calibration run on this computer through the buttons below. The zip already contains the firmware and the test tools. Opening the zip does not install Python or Arduino.
- Download the zip and unzip it. You do not need to clone the repository or create a
can_stepperfolder. - Open a terminal in the unzipped
grafito-canstepper-stationfolder. - Install the tools once. Run
bash install.sh, or run these commands yourself:sudo apt install python3 python3-pippython3 -m pip install --user "pyserial>=3.4"curl -fsSL https://raw.githubusercontent.com/arduino/arduino-cli/master/install.sh | BINDIR="$HOME/.local/bin" shexport PATH="$HOME/.local/bin:$PATH"arduino-cli core update-indexarduino-cli core install esp32:esp32arduino-cli lib install "FastAccelStepper"arduino-cli lib install "TMC2209" - Run
python3 grafito-canstepper-station.pyand leave that window open. - Come back here. Plug in USB-C for data and apply 5–24 V Vin. USB does not power the board.
- Select that USB port below, and set the node ID. A new board is node 1.
- Tick that Vin is on and the motor is safe to move.
- Press Compile and flash, Run board test, or Run PID calibration.
Runs onNot started
arduino-cli missing · canstepper missing
VALIDATION
Board test
Runs on the downloaded local station, using the USB port and node ID selected in this dashboard. The shaft will move.
01
Identity & protocolPING, fw 1.9, GCSP v1
02
MT6701 encoderFrame validity + count stability
03
TMC2209 driverUART, current scale, thermal flags
04
Direction polarityPositive command follows encoder
05
Closed-loop motionPID settle matrix + position error
06
Speed envelopeCruise ladder up to 4,800°/s
07
Soak movesRepeated closed-loop targets after persist
08
Safety functionsStop, e-stop latch, enable recovery
09
Config persistenceWrite and verify production tune
~3–6 min
PID
PID calibration
Finds polarity and writes the production closed-loop gains through the local station. The shaft will move.
01
Identity & protocolPING, fw 1.9, GCSP v1
02
MT6701 encoderFrame validity + count stability
03
TMC2209 driverUART, current scale, thermal flags
04
Direction polarityPositive command follows encoder
05
Production PID gainsKp 12 · Ki 0.3 · Kd 0.10 · 720°/s
06
Settle matrixClosed-loop moves at production cruise
07
Persist tuneWrite polarity + PID to NVS
~1–3 min
NODE ID
INSPECT FIRSTSet node ID
A new board is node 1. Pick any ID from 1–31, then save it on the board. Occupied IDs on this bus are disabled so two boards cannot share an address.
CURRENT—
→MANUAL CONTROL
INSPECT FIRSTBoard controls
MT6701No data
TMC2209No data
CAN BUSno data
FAULTSUnknown
CAN REFERENCE
Full spec ↗GCSP v1 at a glance
11-BIT CAN ID
(node_id << 6) | msg_idLITTLE-ENDIAN00–15CommandsPING · ESTOP · motion · home · params · follow
20–2BTelemetryStatus · encoder · driver · environment · CAN health
0Broadcast nodeOne-frame bus-wide stop or command
1–31Node IDsStandard 11-bit CAN · 1 Mbps
!
Termination ruleKeep 120 Ω only at the two physical ends. Remove the 0 Ω jumper on every mid-chain board.
TEST STATION OUTPUT
Test-station output will appear here.